
No products
New products
-

LilyGO T-Echo Plus 868 MHz NRF52840 LoRa Meshtastic BME280 Gray (LilyGO)
99,77 € tax excl. -

-

-

LNA Wide Band 100-6000 MHz RTL-SDR V2 QPL9547
29,78 € tax excl.
Viewed products
-

Grazioli MV6 UpKIT 40m...
The upgrade kit for the MV6 antenna enables the...
-

Power supply NISSEI-NS-1230M 13.8V 30A adjustable from 4 to 16 volts
134,10 € -10% 149,00 €
 View larger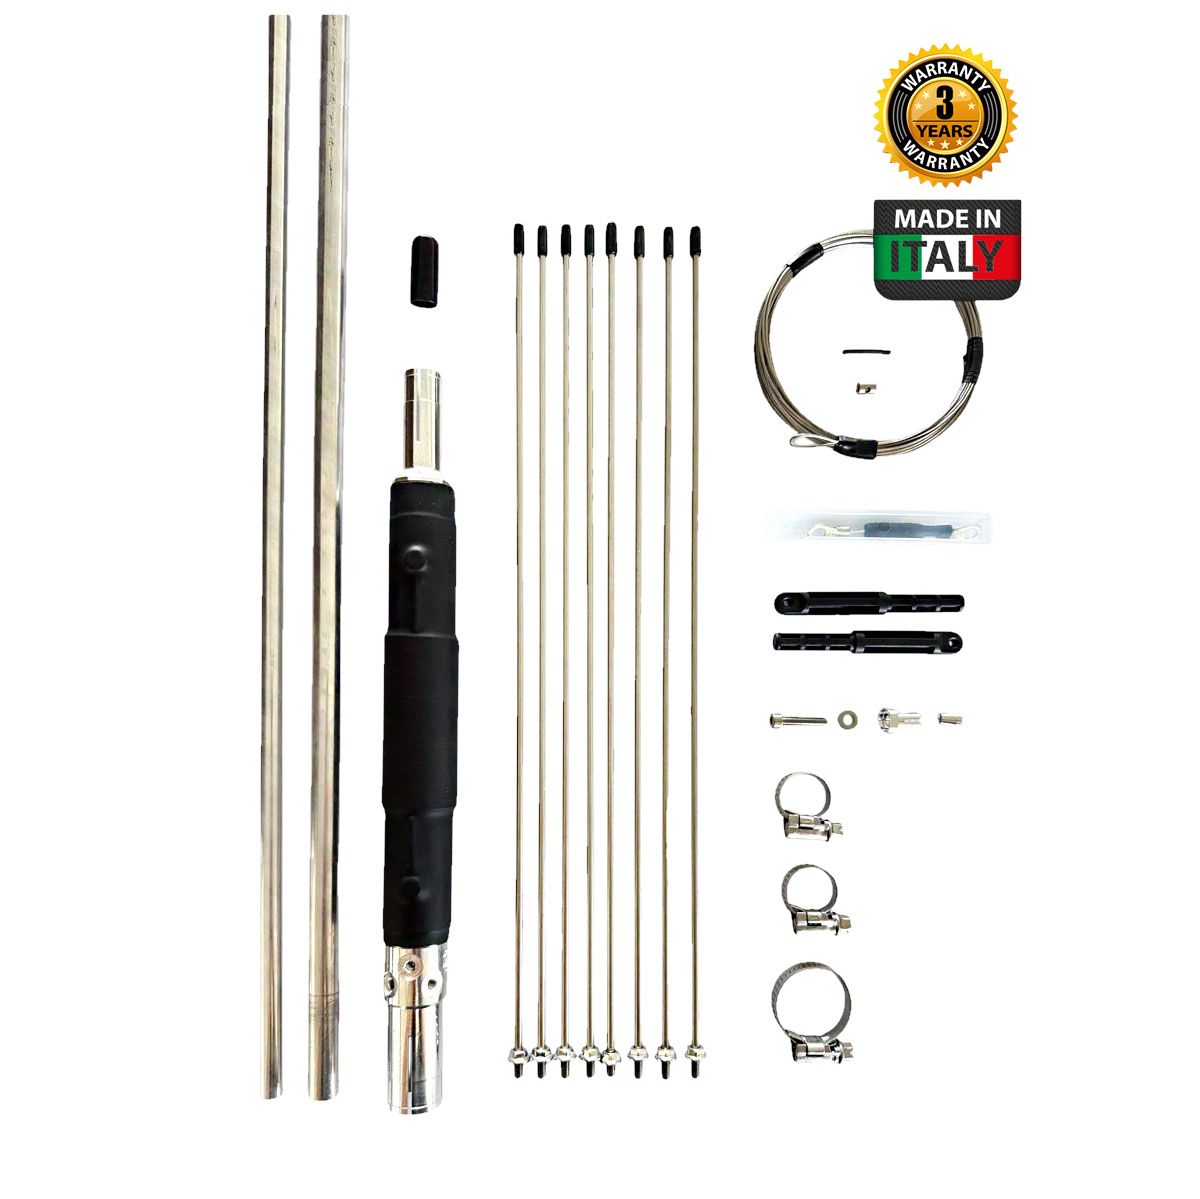

Grazioli MV6 UpKIT 40m (7 MHz) extension kit for MV6 antenna
 No review at the moment
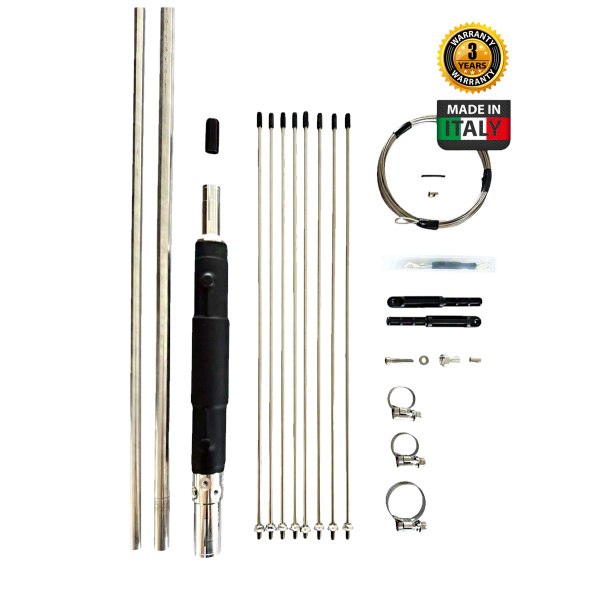
The upgrade kit for the MV6 antenna enables the 40 m (7 MHz) band to be added thanks to the capacitive cap coil, plus a section of vertical rod, making the central rod dual-band (40 + 20 m).
What's more, the "DBFC" wire counterpoise, an acronym for Dual Band Folded Counterpoise, (patent pending) for installation on existing radials, makes the 40 m band resonant and suitable.
The kit comes with everything you need for quick and easy installation, following the instructions in the enclosed manual.
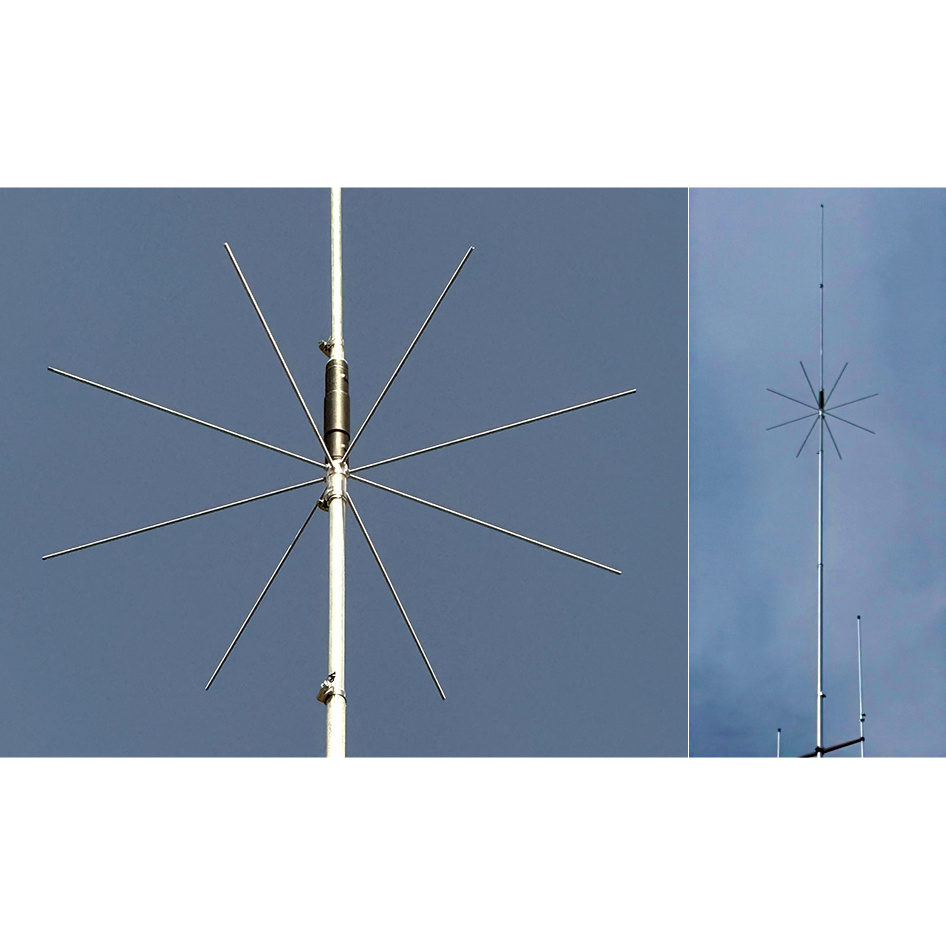
This upgrade kit makes your MV6 fully equivalent to the MV7 model, which already incorporates the 40 m band.
- MV6 40 m upgrade kit
- 40 m extension kit for MV6
- Maximum input power: 1,500 W SSB
- Weight of parts: 0.75 kg
- Packed weight: 1.9 kg
Data sheet
Technical specifications :
- Frequency range: HF 20, 17, 15, 12, 10 + VHF 6m
- Type: 1/4 λ vertical dipole with end feed
- Impedance: unbalanced 50Ω
- Radiation: omnidirectional
- Polarisation: vertical - linear
- Gain : 0 dBd - 2.15 dBi
- Resonant SWR: ≤1.5:1
- Maximum applicable power: 3000 Watts continuous all emission modes
- Power system: direct - connected to DC earth
- Connector: UHF female (SO-239) with PTFE insulation, gold-plated centre pin
High-grade material : AW6063-T66 alloy of aluminium, magnesium and silicon hardened to T-66, ensuring maximum strength. Tubes are extremely accurate across both diameters and wall thickness, allowing precise coupling with no 'play' between tubes.
Specifications:
- Materials: AW6063-T66 aluminium tube, fibreglass, brass, PTFE, stainless steel screws
- Wind surface area: 0.4m2
- Wind load at 130Km/h: 19 Kgf
- Wind resistance: 130 Km/h
- Total height: 6.75m
- Whip length: 6.20m
- Radial length: 2.7m
- Mast mounting: ø 40-54 mm
- Net weight: 7.8 kg
Warning: Installing this product near high-voltage lines is dangerous. Follow the instructions for your safety.
* Construction of the choke balun
The MV6 antenna is now supplied with a "Fair Rite" toroid made in the USA to create a choke balun to be installed under the antenna and to improve its performance.
The choke balun for the HF band (1.8-30 MHz), to be installed near the antenna connector, significantly attenuates sheath currents, which can reduce the antenna's performance and may cause interference in the station or high VSWR.
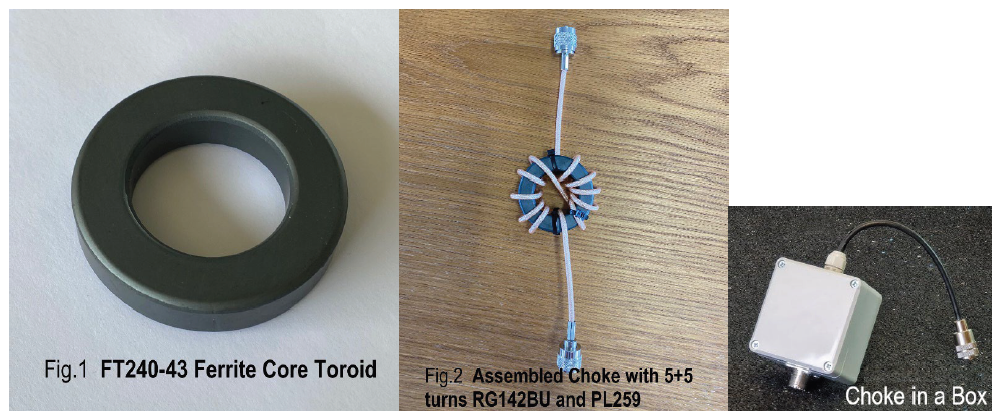
Grazioli Antenne supplies the original FAIR-RITE ferrite toroid (FT240-43 Made in USA) to create your own high-performance choke balun.
Material not supplied to be added by the customer for manufacture:
- 2 PL259 connectors adapted to the type of cable you are using. (1 PL259 + 1 SO239 if a plastic protection box is used)
- Approximately 1.2 m of good quality coaxial cable, type RG58 for continuous power up to 300 Watts at 30 MHz or RG142BU in Teflon for continuous power up to 1500 Watt AWG at 30 MHz.
Grazioli strongly advises against the use of cables with expanded FOAM dielectric (white spongy dielectric) as they cannot be wrapped around the toroid without compromising its electrical characteristics.
Instructions for building the choke balun
Take the coaxial cable, spread it out on a surface and mark half its length with a piece of insulating tape or a marker.
Then insert it into the toroid Fig.1 up to the mark, and secure it with a plastic clip, start winding the coils by passing the cable through the toroid at least 5 or 6 times, then do the 5 or 6 turns on the opposite side with the same procedure, until you get the balun like the one in Fig.2.
Secure the end of the winding with another clamp and your balun is complete. All you need to do now is install the connectors on both sides, and connect one side to the antenna and the other to the coaxial downlink.
If you want to attach it to the support mast, we recommend placing at least 4 - 5cm of wood or plastic between them to prevent them being affected by the metal mass.
To protect the balun, you can use a plastic enclosure for electrical installations, fitting an SO239 on the lower part of the enclosure towards the downlink, and a cable gland on the upper side, where the cable that will connect the outgoing aerial is located. Drill one or two holes in the base to drain off any condensation.
Customers also bought
No products available
Reviews
Additional or similar equipment
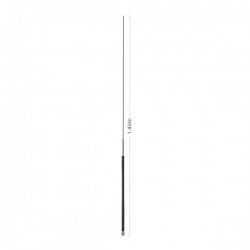
Mobile Antenna HF 7Mhz (40m) Diamond HF40FXW
Antenna 100% genuine: Diamond HF40FXW for mobile and 7Mhz amateur radio single-band (40m) with adjustable whip for the SWR. Antenna type: Whip 1/4λ (quarter wave)Frequency band: 7Mhz (40
69,90 € tax incl.Out of stock, available in 2 to 3 months58,25 €tax excl.
74,23 €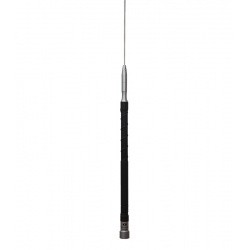
Mobile Monoband HF Antenna for 7MHz with PL-259 connector
Single-Band Mobile Antenna 7 MHz, Komunica RANGER-40 Type: 1/4 waveFrequency: 7 MHz V.S.W.R.: less than 1.5 Max Power: 150W Impedance: 50 ohms Lenght: 156cm Weight: 295g Connector: PL-259 (UHF Male)
50,46 € tax incl.In stock42,05 €tax excl.
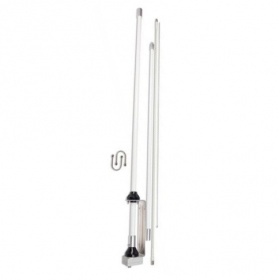
Moonraker GPA-80HF multiband HF vertical antenna + 6m in aluminum
Moonraker GPA-80HF basic HF antenna in aluminum for fixed use in the amateur radio bands from 3.5 to 57 MHz (80 Meters to 6 Meters) in TX transmission (with the use of an external tuner) and for
137,96 € tax incl.In stock114,97 €tax excl.
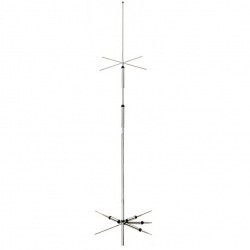
DIAMOND CP-5HS II 5 Band Vertical Antenna 7/14/21/28/50MHz
Diamond CP-5HSII 5 Band Vertical Antenna 7/14/21/28/50MHz.This antenna is 3.6m high, with radials up to 180cm long, self-supporting up to 160km/h wind speed. It is equipped with a SO-239 connector
434,90 € tax incl.Out of stock, available within 2 to 3 months362,42 €tax excl.
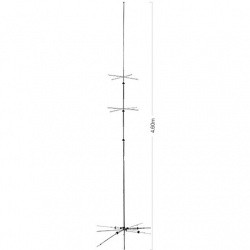
DIAMOND CP-6SR 6 Band HF Vertical Antenna 3.5/7/14/21/28 and 50MHz
Diamond CP-6SR 6-band vertical antenna for the HF (3.5/7/14/21/28) and 50MHz bands, including radial kit and 80m coil (R2) for the 3.650 to 3.725MHz band. Max. power 200 Watts SSB Impedance
465,00 € tax incl.In stock387,50 €tax excl.
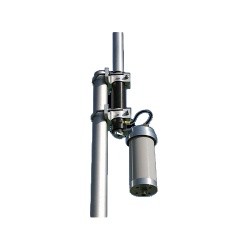
Diamond BB-7V Wideband HF Antenna 2-30 MHz 250W
DIAMOND BB-7V wideband omnidirectional vertical antenna for HF bands from 2 to 30Mhz, no radian needed, 250W (SSB).Frequency: 2 to 30MHz Bands: 10m, 11m, 12m, 15m, 17m, 20m, 30m, 40m, 60m, 80m,
390,60 € tax incl.Out of stock, available within 2 to 3 months325,50 €tax excl.
457,80 €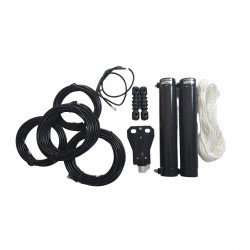
Diamond W-719 Dual Band Dipole Antenna 160m and 40m
Diamond W-719 dual band dipole antenna operates on the 1.9 MHz and 7 MHz bands, 30 metres in length. Power is supplied by a PL socket on the centre section, and the antenna is suspended by insulators
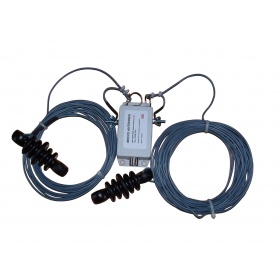
HW-40HP M0CVO dipole HF multiband antenna 80/60/40/20/15/10m & 6m 400W
The M0CVO HW-40HP is a dipole antenna that incorporates the M0CVO 4:1 balun at the feed point, allowing direct feeding with 50 ohm coaxial cable. The M0CVO HW-40HP is just 20.28m long, and can be
81,00 € tax incl.In stock67,50 €tax excl.
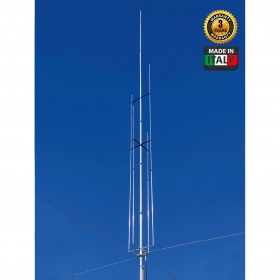
Grazioli MV6 vertical multiband HF antenna 1/4λ 3kW new version TOROID
Grazioli MV6 6.75m multiband 1/4λ HF vertical antenna, base-fed for the following HAM bands: 20, 17, 15, 12, 10 and 6m. Power up to 3 kW continuous, all modes combined. New version supplied with a
455,00 € tax incl.In stock379,17 €tax excl.
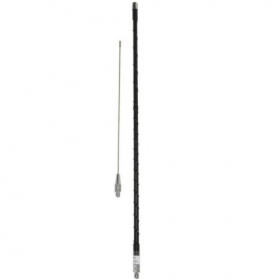
AMPRO-40T - HF Mini Stick 40M Moonraker mobile antenna
AMPRO-40T - HF Mini Stick 40M mobile antenna This HF Mini Mobile Whip antenna is designed to allow you to mount an HF antenna with just a small magnetic bracket. No need to drill holes or make special
29,28 € tax incl.In stock24,40 €tax excl.
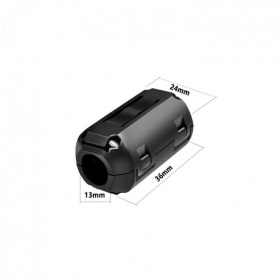
13 mm ferrite for balun choke and interference suppression
13mm Black Ferrite Choke Balun for EMC Demagnetization Filter Anti-interference Device Clip-on VersionDescription:- It can filter high frequency noise, pulse interference from connection circuits.-
2,88 € tax incl.In stock2,40 €tax excl.
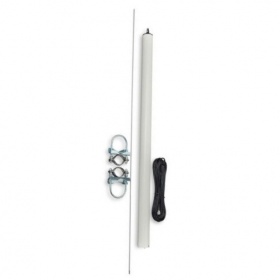
X1-HF Moonraker 1-50 MHz SO239 vertical antenna with 10m cable
X1-HF 1-50 MHz vertical receiving antenna complete with PL259-SMA male 10m cable.This antenna features internally charged wire traps that provide an excellent alternative to a long wire. Ideal for
99,00 € tax incl.In stock82,50 €tax excl.
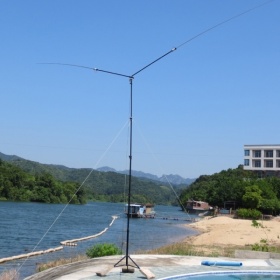
Chelegance JPC-7 Portable dipole antenna 8 HF bands 40m to 6m
Portable dipole antenna 40m to 6m, 8 HF bands. Super portable antenna kit that can be set up in 5 minutes by one person, perfect for field operations, portable, SOTA. Telescopic mast and tripod not
274,35 € tax incl.Out of stock, available in 2 to 3 weeks228,63 €tax excl.
295,00 € -7%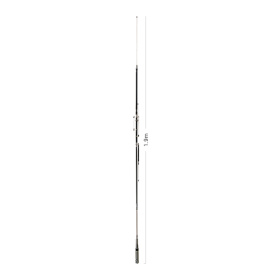
Diamond HV7CX multiband mobile HF VHF & UHF antenna
The Diamond HV7CX is a versatile mobile antenna designed for amateur radio use on the HF 7/21/28 MHz, VHF 50 & 144 MHz and UHF 430 MHz frequency bands. Its robust construction and ease of
197,56 € tax incl.In stock164,63 €tax excl.
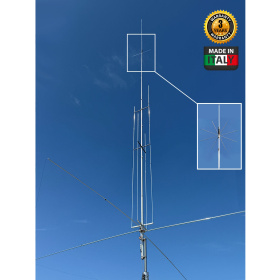
Grazioli MV7 vertical 7 band HF 40-10m + 6m 3kW antenna
Grazioli MV7 aluminium multiband vertical antenna, 7 HF bands + 6 m (40/20/17/15/12/10/6 m). Designed for a compact, high-performance base station: 1/4λ, patented DBFC counterweight for 40 m, high
659,00 € tax incl.In stock549,17 €tax excl.
675,00 €
See more equipment

Europe & Overseas
Shipped from France
Product return
14 days to return, 2 warranty
Email support
Response within 24h to 72h
Secure payment
SSL, VISA, Mastercard, Paypal
Copyright 2014-2026 - Passion Radio / 4 MY PEOPLE
Les photos et coloris ne sont pas contractuels.